A circular saw is an essential tool for any craftsman or a carpenter. The machine makes it possible to get clean, fast, and precise cuts from a variety of materials. Using the machine is as easy as setting the blade to the right length and angle, lining the saw up with the material and guiding the material smoothly on the pre-drawn lines. While this may sound simple, you still need guidance to be able to get the accurate cuts. Also, one thing you may need to check out is air compressor options which you can find out more at https://homenewtools.com/best-20-gallon-air-compressor.
The following are tips on how to use a circular saw for beginners.
Read on for more!
Part 1: Adjusting the saw and preparing the work material
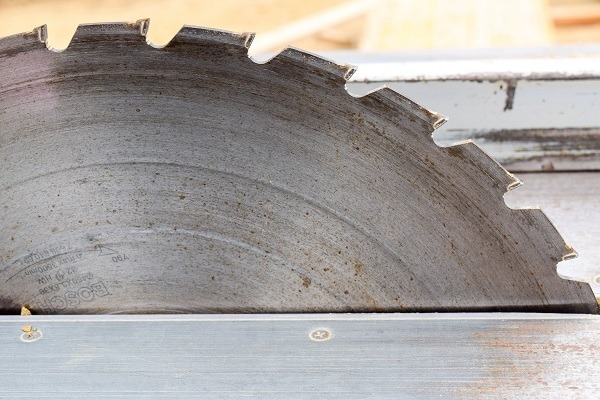
Step 1: Get familiar with the circular saw
With so many brands and styles in the market, most saw machines come with the same features and design. As you run the saw, you can hold the tool with both the front and the back handles. Also, you can use the triggers at the back to control the saw’s movement.
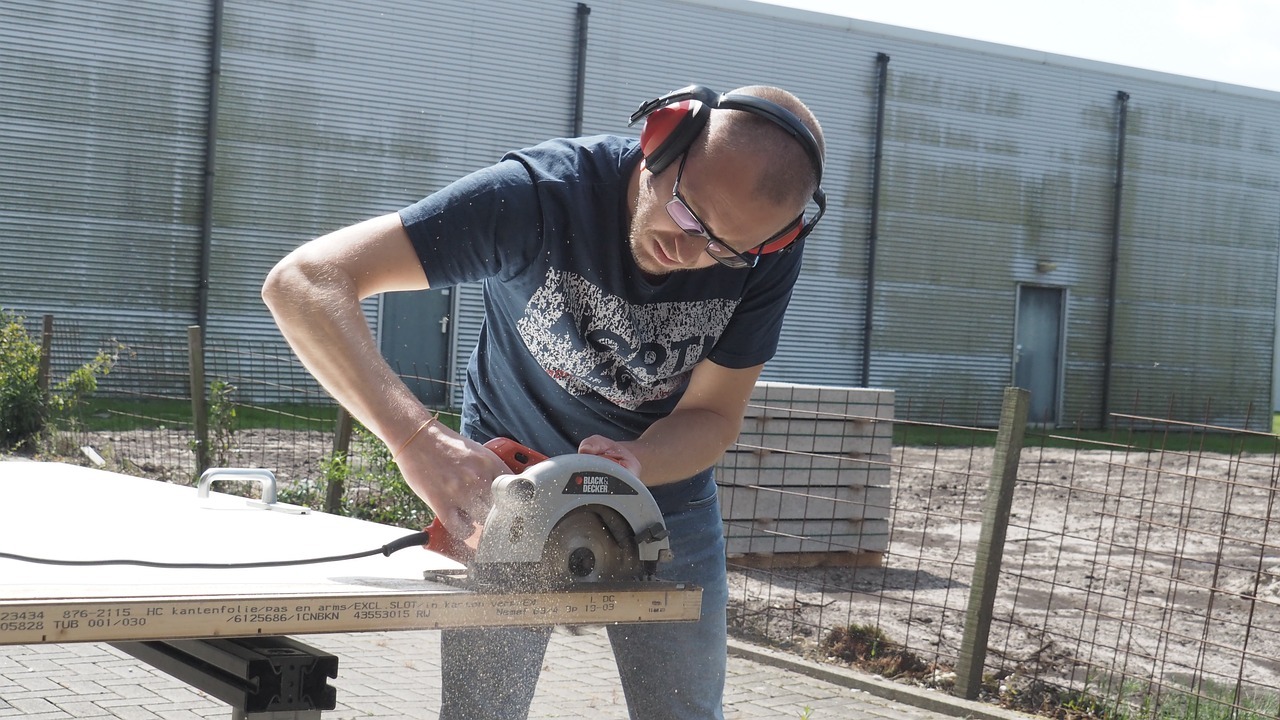
Step 2: Wear protective gear
Before getting down to sawing, it is good to take safety precautions to make sure you do not meet an accident. Make sure you have goggles and gloves to keep your eyes and hands safe. If you will work on your saw for a long time, it is advisable to wear ear-muffs too.
Step 3: Measure and then mark your working material
To make the right marks, use a straight ruler and a carpenter’s pencil or a felt-tipped marker to make straight lines in places where you want to cut. The lines serve as visual guides to guide the blade while cutting. So, always make sure the lines are bold enough.
Step 4: Place the material on the circular saw or between two saw-horses
As you cut the material, make sure the material is adequately supported and is not stuck underneath. This way, the blade will not dig into your work surface as it cuts through the material. Never place your material directly on an ordinary table, floor, or a bench as doing so can cause severe damage to the project.
Step 5: Use the blades central lever to set it to the ideal length
Pull the shoe lever between the two handles moving down and disengage the base plate and let it move freely. After that, put the base plate against the cutting material and then raise or lower the blade just below the lower part of the material or until it stops.
Step 6: Make adjustments to the pivoting scale to keep the blade at the right angle to make beveled cuts
Twist the small knob found on the front side of the saw in the clockwise direction to unlock the scale. After that, slide the scale to any angle preset indicated on the frame or pause it o any point as you cut to make custom cuts. If you are okay with the angle, turn the scale clockwise to lock it in place.
Part 2: Making clean, fast, and precise cuts
Step 1: Put the line on the base-plate, labeled as “0” on your cut line
On the front side of the base-plate, there is a small notch with a bold line on both sides. The line found on the left-hand of the notch has a “0” label. The label corresponds to the position of the blade once you set it at 90 degrees and you should use it at any time you are making normal cuts.
Step2: Turn on the saw blade and pull the trigger at the back of the handle
Some models come with extra safety triggers near the top of the circular saw that you need to flip to start the saw as you pull the trigger. After engaging the trigger, the circular saw blade will begin to spin. Wait until it powers on to full speed to start cutting.
Step 3: Push the saw smoothly and slowly along the surface of the material
With both hands, maneuver the circular saw blade straight down your cut line and make sure that the right side of the base-plate notch remains aligned with the cut-line all the time. After jerking or forcing the saw along, it is better to let it move at an easy and natural speed when the blade is cutting through the material.
Step 4: Stop the blade by releasing the trigger after making the cut
Once you complete your cut, release the trigger and wait for the blade to stop completely. To avoid mishaps, keep your fingers away from the trigger as you review your work or line the material up for the next cut.
Step 5: Unplug the saw once you are done
For a moment, confirm that the blade guard is safely locked to its place. After that, remove the saw from the wall socket, wrap the cord around the saw handle and put it away until the next time you need it.
There you have it! Whether looking for ideas on how to use a circular saw or how to use a circular saw without a table, the above guide is easy to follow. Just make good use of it and become a guru when it comes to making clean and precise cuts.