Chives are the most dependable and sturdiest herb that you can grow. They are also known for having the most extended productivity period every year. Because chives are culinary versatile, planting and growing them would really be a big help because it can give you many tasty foods every time. That’s why we are here to provide you with a guide on how to plant, grow, and harvest chives. So that you will have an endless supply of chives in your home.
What are Chives?
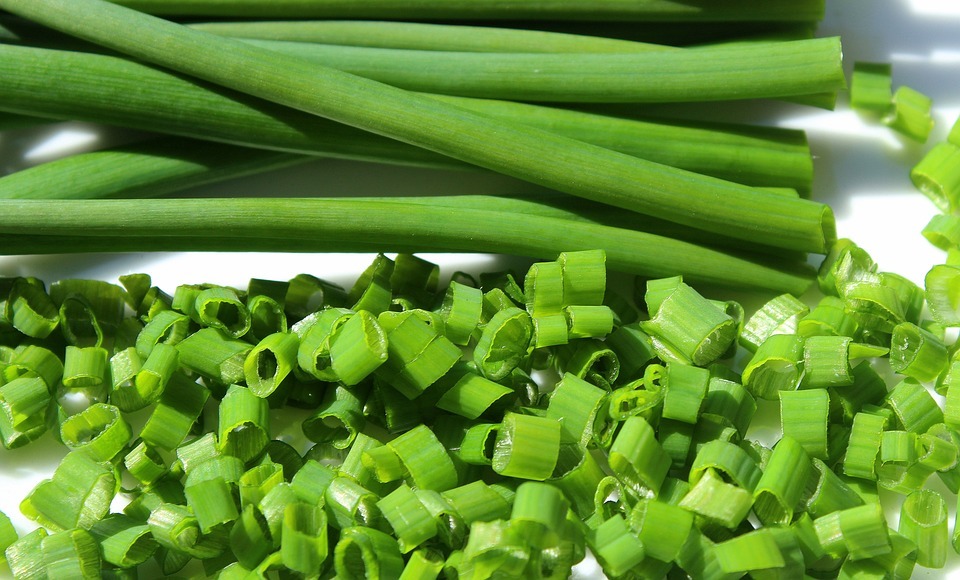
Chives are a member of the onion family. They usually grow in two types, namely the Alium schoenoprasum, which have a tubular, slender, and deep green leaves with a mild onion flavor. The other type is the Alium tuberosum, which is also known as Chinese leeks, they have flat leaves along with a delicate garlic flavor. The Alium schoeniprasum is the most common and in-demand type of chives when it comes to cooking. Chives have versatility in the kitchen that is unmatched by other herbs, you can use it as a taste ingredient or a garnish in almost every kind of food.
Health experts say that chives act as a natural antibiotic and antiseptic. This vegetable is also rich in phosphorus, folic acid, calcium, and vitamins A and C. In fact, a research that was done in 1988 says that one tablespoon of chives contain as much vitamin A as two cups of cabbage.
Planting and Growing Chives
There are several ways to grow chives. While planting them out from seed is an easy thing to do, it has a slow-growing process. This is because the germination can take from seven to fourteen days. But if you prefer this method, we suggest that you get your head start by planting the chives seeds indoors in a ½ inch deep pots with a soil mix and that always have the right moisture. You should keep it out from direct sunlight and remember that they should only be at a consistent temperature of 60-70 degrees Fahrenheit for you to get the best results. After you plant them, you will witness the seeds grow rapidly and thoroughly after four to six weeks. You can simply cut them with a knife and lift about two-inch chunks on the chives for you to e able to transplant it in your garden. Just remember that the soil must be the same depth as the plant that is n the seeding container.
You can also try to sow the seeds directly into the soil, but the chives are kind of slow with establishing this plant, especially if it is your first time. Keep in mind that in either of these methods, you will be able to harvest a minimal amount of chives during its first year, and it will only increase in production if you regularly water and cut the chives.
The easiest way to get started with your first harvest is to go to your local nursery or farmer’s market and get yourself a clump of chives. Several nurseries sell mature chives that are planted in two to three-inch pots. We suggest that you take these clumps and divide them into four plants
Transplanting
When it comes to transplanting your chives, you must remember these steps:
- Use a sharp spade or shovel to dig down as deep as you can on all the sides of the plant.
- Shake off all the loose soil that is surrounding the plant’s roots.
- Cut the roots of the chives to about a half-inch in length, beginning at the green bottoms.
- Remember to cut the green portion to about 1 ½ inch above the roots.
- Carefully split the large clump into smaller portions.
- Remember to remove the weeds from the chives’ bed and cultivate its soil with a garden claw to at least four inches around the area you wish you place your chives.
- If you do not have reasonably moist soil, you can fill each planting spot with water before putting your chives transplant.
- Remember to firm up the soil around the plant so that your chives are pretty much standing at a 90-degree angle. This will help them grow directly upwards rather than sideways.
Maintainance
Just as long as you give your chives a well-watered and well-weeded space, you can make sure that they will grow almost before your eyes, and you can be able to harvest them right before you might imagine.
Harvesting the Chives
When collecting your chives, remember to always cut them within a one-half inch to about 1 ½ inch above ground level. Cut the entire clump even if there are only a few strands of green to be able to promote growth to your chives. Gather the tops of the whole clump of chives in one hand then cut them at the bottom using a sharp knife or scissors. Do not cut the chives using dull equipment because it will only bruise, tear, and shear your greens, and you will end up cutting them again and losing some of your precious harvest in the process.
Cleaning and Storing Chives
Cleaning the chives may require some meticulous work. This is because you should avoid washing the chives with water. Wet chives can be quite painful to clean, and they can retain moisture, which accelerates the spoilage process of the chives.
To clean chives properly, all you have to do is remove all the yellowish leaves and other debris. Sometimes, you have to cut above the chive’s original bottom to remove any soil debris. You can store them in an air-tight plastic container or bag and place them in your refrigerator. The shelf life of chives can last about a week or two.